10 Ways to Repair Damaged Hair at Home (Without Expensive Salon Visits)
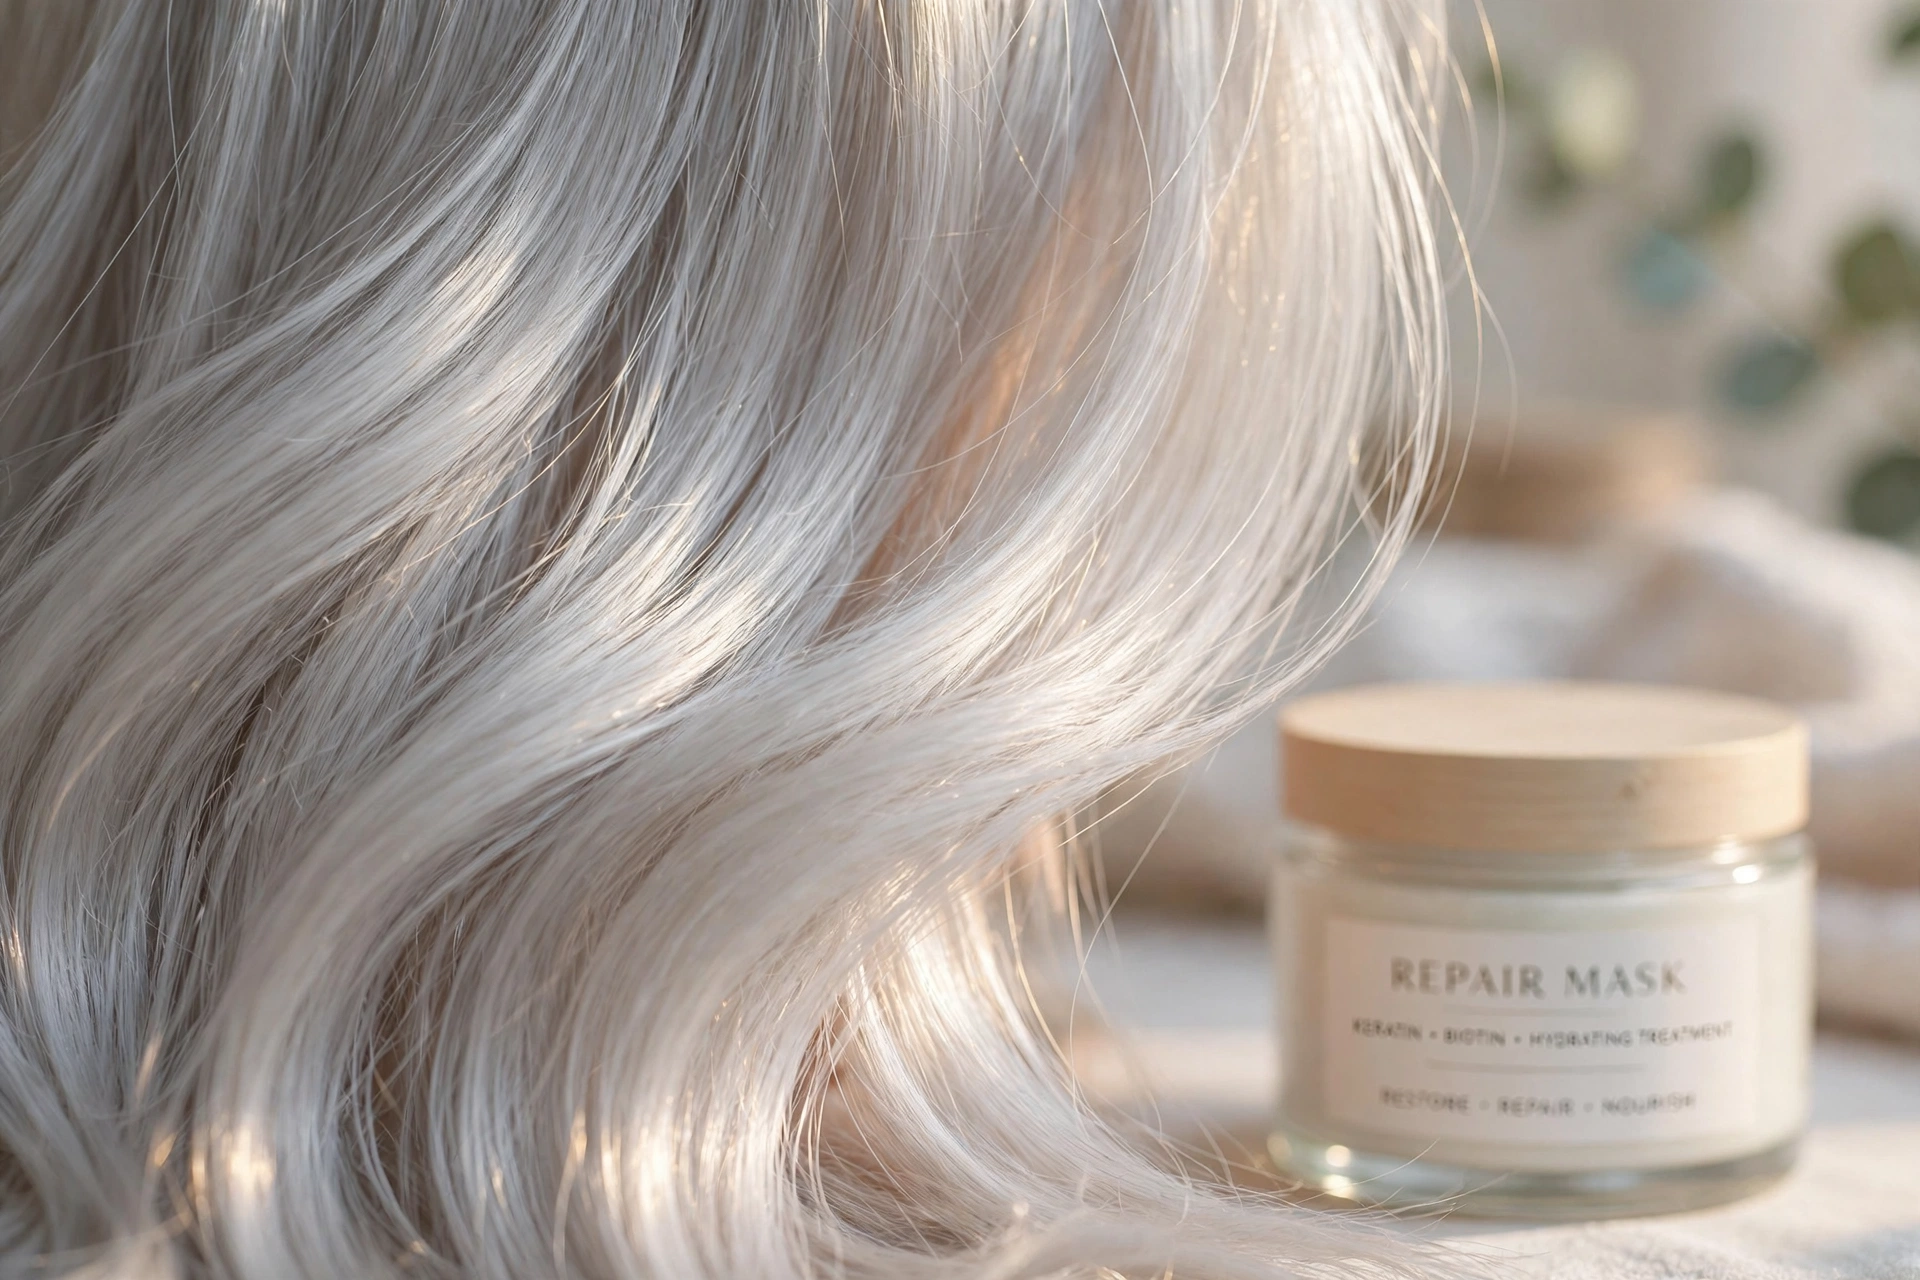
Between the coloring, the heat styling, the sun, and about thirty years of “just one more bleach,” my hair had been through it. It was dry, snappy, and honestly a little embarrassing. But here’s what I learned: you can repair damaged hair at home without spending salon money — you just need the right methods and a little patience. These are the ten that actually moved the needle for me.
A quick honest note before we start: truly split ends can’t be glued back together — only a trim fixes those. But everything around them — the dryness, the roughness, the breakage, the dullness — absolutely can be improved at home. That’s what we’re doing here.
1. The Pre-Shampoo Oil Soak
What you need: coconut oil or olive oil, a shower cap.
Work a generous amount of oil through dry hair from mid-length to ends an hour before washing — or overnight if your hair is very damaged. The oil fills in the gaps in the hair’s outer layer so shampoo can’t strip it further. Shampoo twice afterward to get it all out. Do this weekly and the difference in softness is almost immediate.
2. Switch to a Protein Treatment (Monthly, Not Weekly)
What you need: a keratin or protein mask from the drugstore.
Damaged hair has lost protein, and replacing it rebuilds strength from the inside. But here’s the catch most people miss: too much protein makes hair stiff and brittle, the opposite of what you want. Once a month is the sweet spot for most damaged hair. If your hair feels straw-like after a protein treatment, follow it with a moisturizing mask — the two work as a team.
3. Rinse With Cool Water
What you need: nothing but your shower knob.
This is the easiest fix on this list and it’s free. Hot water lifts the hair cuticle and lets moisture escape; a cool final rinse lays it back down, sealing in conditioner and adding shine. You don’t need an ice-cold shower — just turn the temperature down for the last 30 seconds. Your hair will look smoother the very first time you try it.
4. The DIY Honey and Yogurt Mask
What you need: 2 tablespoons plain yogurt, 1 tablespoon honey.
Mix, apply to damp hair, leave 20 minutes, rinse well. Honey is a humectant — it draws moisture into the hair — and yogurt’s lactic acid gently smooths the cuticle. It sounds like a Pinterest myth, but the science is sound, and it costs almost nothing. I do this on Sunday evenings while I meal-prep, and my hair drinks it up.
5. Sleep on Silk
What you need: a silk or satin pillowcase.
Damaged hair breaks most when it’s dry and catching on things — and a cotton pillowcase is basically sandpaper for fragile strands. Silk lets hair glide, cutting overnight breakage and morning frizz dramatically. It’s a one-time purchase that protects your hair every single night. If I could only keep one item from this whole list, it would honestly be this one.
6. Stop Brushing Wet Hair the Wrong Way
What you need: a wide-tooth comb, a little patience.
Wet hair stretches and snaps far more easily than dry hair, and yanking a brush through it is one of the top causes of breakage. Detangle only with a wide-tooth comb, starting from the ends and working upward in small sections. Add a leave-in conditioner first for slip. This one change alone stopped the handfuls of broken hairs I used to find in my brush.
7. Give Heat a Vacation
What you need: a little creativity and some good hair ties.
Try two weeks with no hot tools — no straightener, no curling iron, minimal blow-drying. It sounds drastic, but damaged hair desperately needs a break from heat to recover its moisture balance. Braids, buns, claw clips, and headbands become your friends. When you go back to heat, use a protectant every time and lower the temperature. Your hair will hold style fine; it just needed rest first.
8. Try an Apple Cider Vinegar Rinse
What you need: apple cider vinegar, water.
Mix one part vinegar with four parts water, pour over hair after conditioning, and rinse. It sounds strange and smells stranger (the scent fades as hair dries, I promise), but it removes product buildup, smooths the cuticle, and restores shine that damage stole. Once every week or two is plenty — more than that can dry hair out, which defeats the purpose.
9. Trim the Worst of It
What you need: a good stylist and an honest conversation.
I know — when your hair is damaged, the last thing you want to hear is “cut it.” But holding onto destroyed ends just lets the damage creep upward, and no treatment can fix hair that’s split all the way up the shaft. You don’t need a big chop; even an inch or two removes the worst damage and lets everything you do afterward actually work. Think of it as clearing the way for healthy hair.
10. Protect It From the Sun
What you need: a hat, or a UV-protectant spray.
We protect our skin from the sun but forget our hair takes the same beating — UV breaks down keratin and fades color fast. A wide-brimmed hat is the simplest fix and, frankly, very chic after 50. For days you won’t wear one, a UV-protectant spray on your lengths does the job. Future you, with shinier hair, says thanks.
Pick two or three of these to start — I’d suggest the oil soak, the silk pillowcase, and the comb switch, since they’re the highest impact for the lowest effort. Give it a month of consistency before you judge. Damaged hair didn’t get that way overnight, and it won’t heal overnight either. But it will heal. Mine did, and there’s no reason yours can’t too.